☁️ Creating My Own Search Engine (Goodbye Google)
In this project I created a search engine on an AWS Linux server by cloning the SearXNG github repo, and running it through docker to allow users to search privately through 70 different search engines! Firstly, I needed to get a AWS virtual machine to act as my web server.

After setting up a specific key pair to work with PuTTy (the ssh client I chose to use) I configured the rest of the settings for the web server. I decided to use Ubuntu 20.04 for its stability and ease of use. Once the public ip address was assigned I booted up PuTTy and connected using my configured username and the key pair. Once I was in, it was time to get really started. You can see the connection.
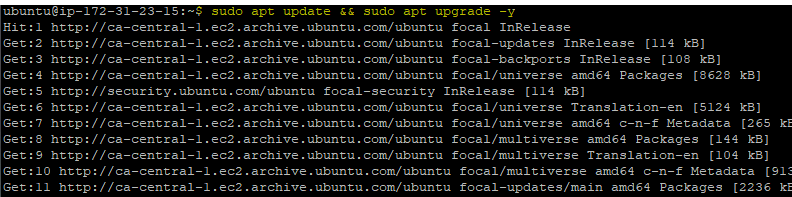
Since now I was officially connected I started off by updating everything. This is always an important step as keeping things up to date makes sure that everything will work as intended, and be more secure than if it were left at the original download state. Not only that, but it is important because I could have been missing features that I might need for setup later in this project. I achieved this by running the following script:
After the updates were finished, it was time to install docker. Docker is a virtualization platform that can allow me to store the search engine application and run it. I achieved this step by running the following command:

Next, I added docker compose to the server. This is essential as compose allows me to run multi-container docker applications. Since the search engine is a multi-container app, compose allows me to run all containers through one command.

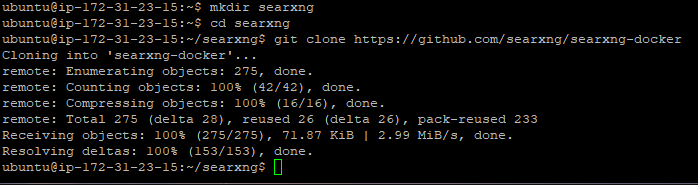
Now that I have set up the right software on the server, it was now time to clone the SearXNG github repo. This is an open-source, privacy-respecting, metasearch engine. To get this amazing software on my server I ran the following command:
Next up I had to change the .env file, as I was going to use "search.nickmartins.com" as the hostname, and not local host. This was an easy change using nano:

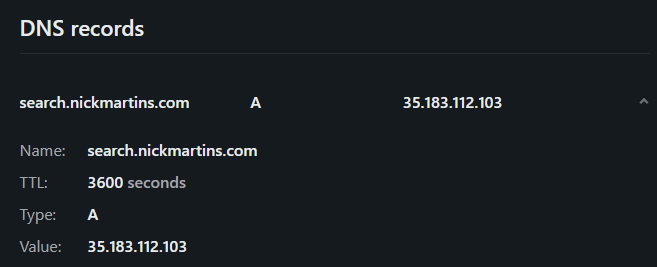
To allow the website to go onto the internet, I had to also change the secret key by generating a random value using the sed -i "s|ultrasecretkey|$(openssl rand -hex 32)|g" searxng/settings.yml command. After that was finished, it was time to customize the settings before deploying the server. Firstly, I had to change my DNS records on my domain to allow "search.nickmartins.com" to work with the newly created server. This was an easy change, and can be see in the photo below.
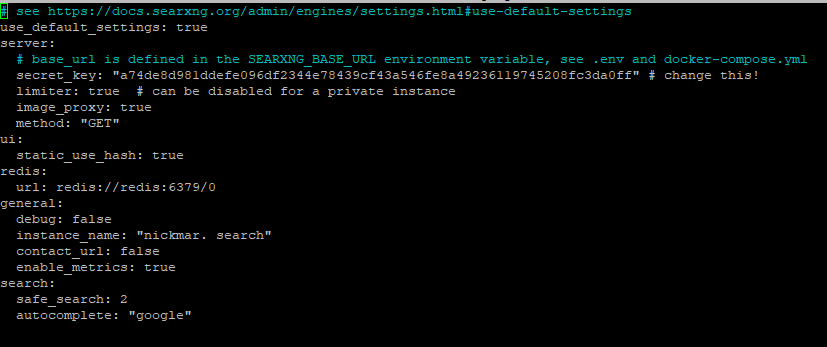
Finally, I changed the settings.yml file to add custom settings. Some settings that I chose to enable were adding in auto complete from google (which doesn't affect security) and changing the instance name to my name at the top. You can see all the configurations below.
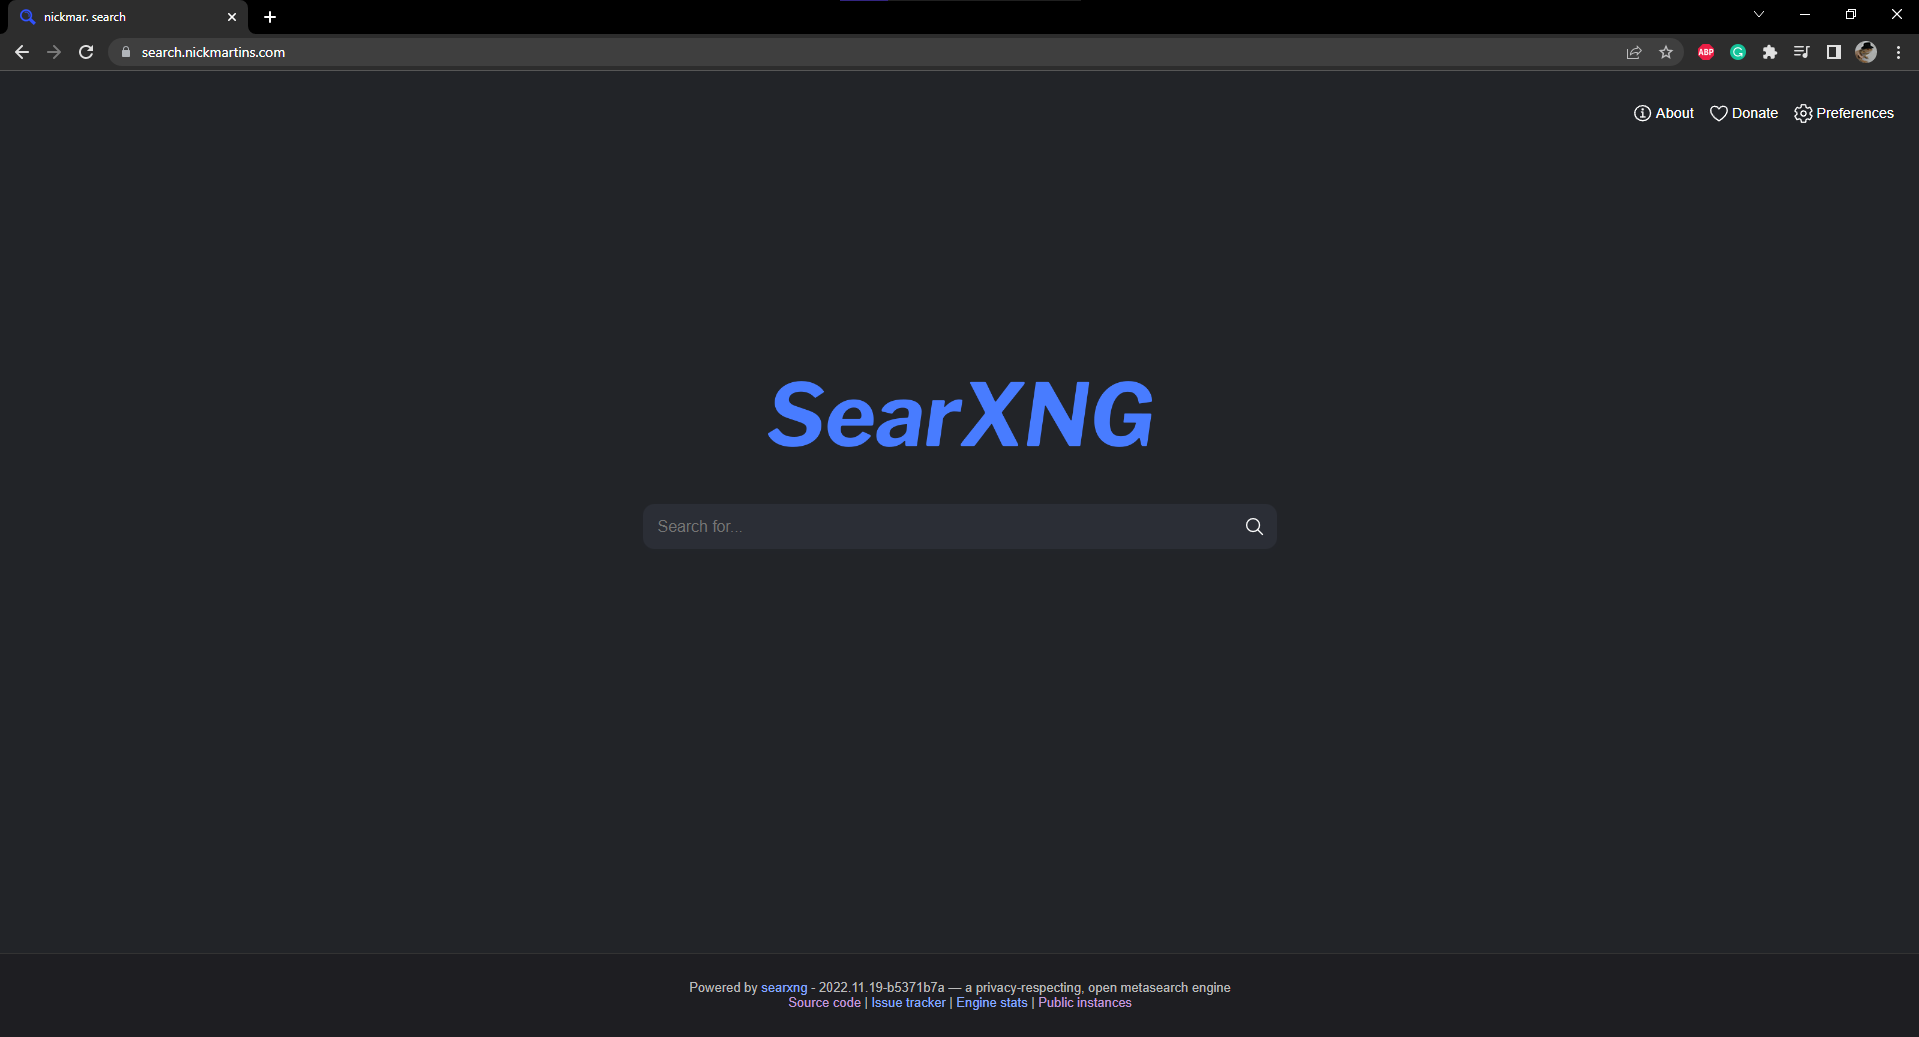
Now, the moment I was waiting for was running SearXNG on my server. I achieved this by running the docker-compose up -d command to run the website in the background. SUCCESS! The website is up and running on my custom subdomain!
I learned a lot from this project. Hope you enjoyed reading my experiences with setting this up.
Thanks for reading!